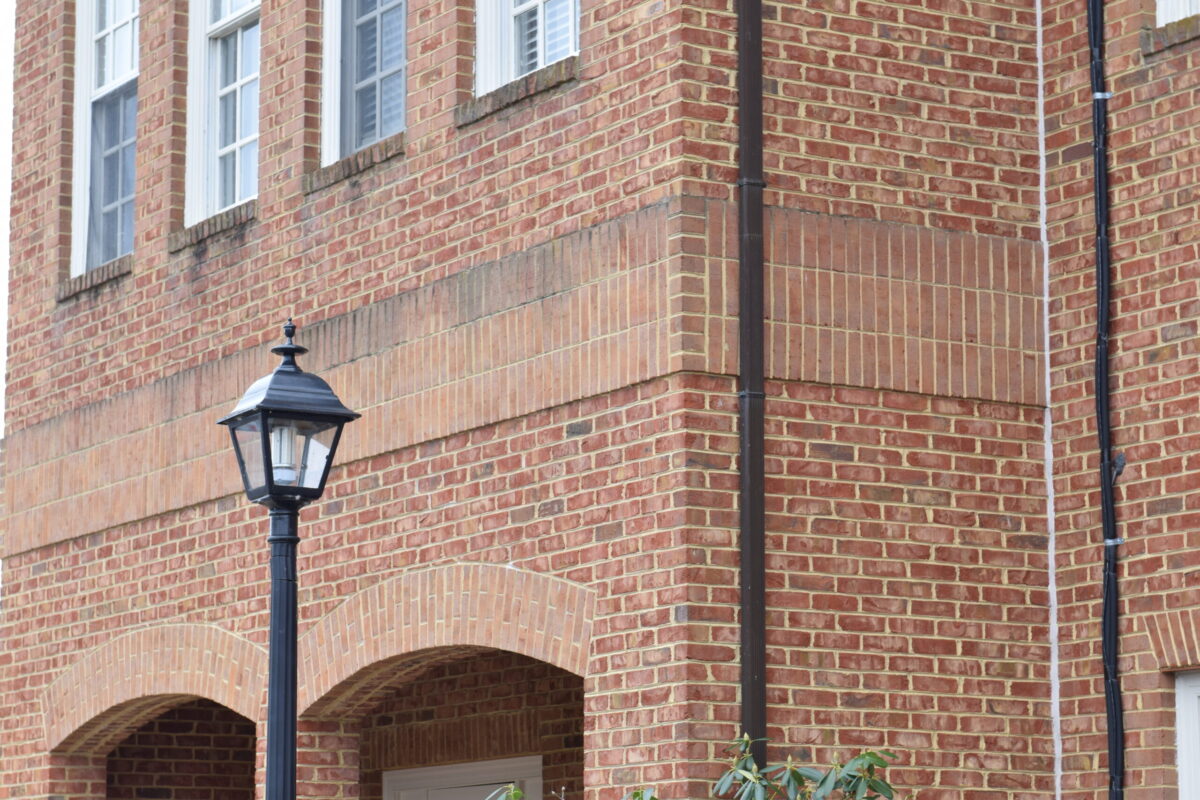
My husband gave me a Nikon D3300 a couple of years ago. I love it. I love taking photos and take our family pictures each year. Even with all the pictures I have taken on my camera, I still have much to learn. With that in mind, I decided to start working on The Visual Toolbox by David Duchemin.
The first few lessons included figuring out what I loved in other photos and reading the manual. Then I came to a lesson directly involving the camera about the light meter. Duchemin described the light meter in way that made it easy for me to understand.
Light Meter
Basically, the camera does not see in color. It sees in shades of gray. As Duchemin explains it, if you meter to the middle on snow, you might end up with gray looking snow. To combat this you would let in a little more light, adding few ticks on the light meter line. This would make the snow more white. All of this is broken down into zones ranging from black to white.

At the end of each chapter, Duchemin gives something to do to practice. For the light meter lesson, we had to go practice with it. I chose to pick a scene and take a series of photos ranging from zone 0 to zone x.
I noticed that by using the light meter I can change the whole tone of the picture. In this picture, if I kept it in the middle it stays true to the scene. The lower the zone on the meter the darker the photo, making the picture feel dark. The opposite was true for going higher on the meter. I think using it as a tool can really help shape the feeling of the photo. I’m excited to have learned how the light meter can help me create photos that I want to create. I don’t have to stick to the middle.


Leave a Reply