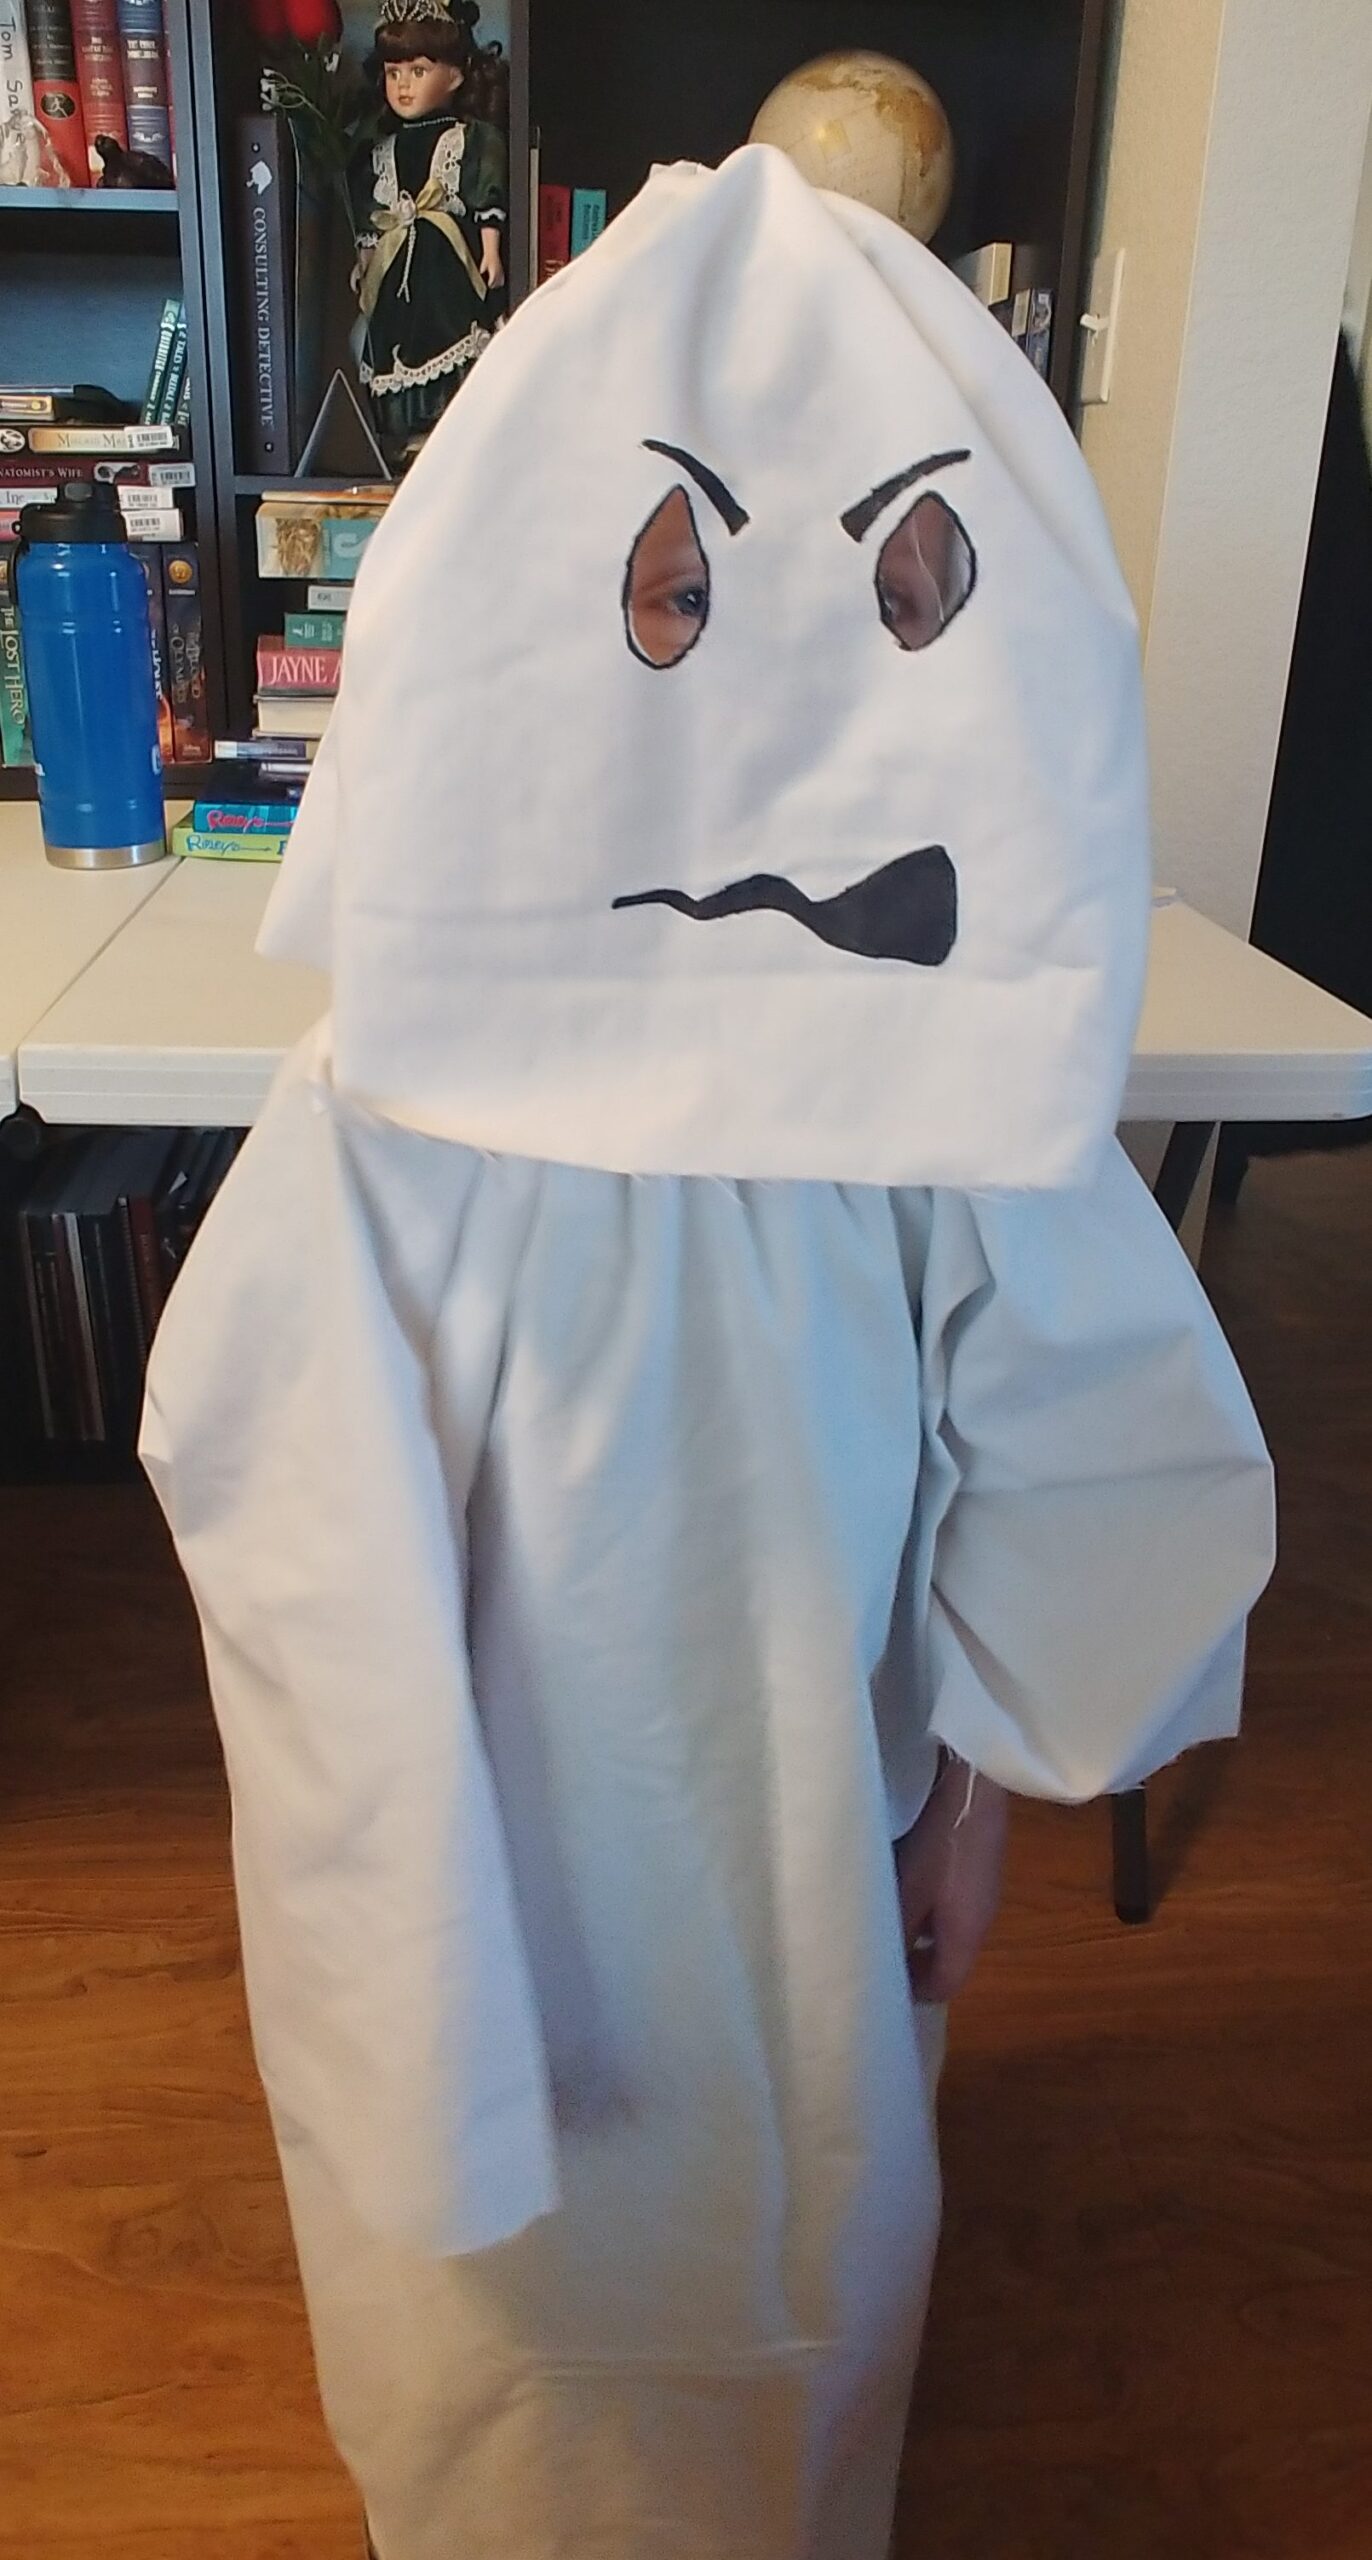
This year my family decided to wear classic Halloween costumes. After writing out a list, we each chose one. Since my youngest is too young to choose for herself, my husband and I decided she would go as a witch. My oldest chose vampire. My husband chose to be a cat. I chose the Grim Reaper but could not find a scythe so I am now doing a school specifically, Miguel from Coco. My son wanted to be a ghost.
Since we were doing classic costumes, I figured that we could create them from thrift stores and items at home, mostly. After hunting a few places, we realized that the ghost costume would have to me homemade. I decided was that the costume needed a hood because some places restrict the wearing of masks. The hood would allow him to push back the top and show his head.
Ghost Costume Creation Instructions
Body
Luckily we had an old white sheet to use for the ghost costume. The sheet was a queen size, so I folded it in half. Then my son laid down on the sheet with the bottom of his neck at the fold and arms outstretched. I measured about twelve inches down from the fold at the tip of his fingers and about twelve inches out from the side of his body on both sides creating a half cross shape. After cutting along the lines, I sewed the sides closed and arms closed, leaving the bottom and hand holes open. We wanted the ghost costume flowy and wearable.
Neck
Then I started on the hood. First I figured out the neck hole. In the middle area of the fold, I cut out a half circle to make a circle to go around my son’s head. Do not do this. It made trying to hem for an elastic much harder. I have not tried this, but you could try just slicing open a part of the fold just big enough to fit over the head.
I added some elastic I had on hand to the neck to help keep on the costume. After folding down the neckline about 1 inch, I sewed close to the bottom edge, leaving a part open to add the elastic. The elastic should measure slightly bigger than the neck.
When the hood is attached, pin one side of the elastic to the cloth. With a safety pin on the elastic, push and pull the elastic around the hem in the neck. After circling around the neckline, sew the elastic sides together and then close the neckline.
Hood
Before adding the elastic I attached the hood. I took the leftover part of the sheet and cut three half ovals simulating a head shape. Take two of the shapes and sew from the middle of the top to the bottom along the edge. Then I attached the third side to the open sides of the other two. This makes a flat side as the front for the ghost face.
To attach the hood turn the hood right side, then match right sides together at the neck. Make sure that the back seam is matched to the middle of the back of the costume. I pinned about six inches to sew as that gave the most freedom for moving the hood. Check to make sure the face mask portion faces front before sewing as that will save on picking. Stay close to the edge while sewing to allow room for the elastic.
Final
I would recommend trying the costume on your little ghost and marking where to cut eye holes. When that is completed, cut out the eye holes, draw a silly face, and you are done. The whole thing takes a couple of hours to complete. If you are a faster sewer you may do it quicker. I only took a few hours, but I was also dealing with kids and had to pick a few places when I messed up.
I feel like this costume turned out pretty good for my first time make a ghost costume and modifying it to include a hood. Most importantly, my son loves it. I hope this helps you if you are trying to make a ghost costume. If you have any suggestions to do this better, let me know.

Leave a Reply